Understanding Manual Mode of a DSLR Camera

It is safe to say that each person tried to take our first manual photographs simply to be rewarded through an extreme over or underexposure. It takes a while before you slowly begin figuring out what every placing does and how the entirety works collectively. But sooner or later, you definitely give up on self-coaching and start looking for a guide. After all, this could make things tons easier, proper?
Not pretty.
As soon as you are taking your first appearance, you are confronted with heaps of latest jargon - such things as aperture, shutter velocity, ISO, the intensity of discipline, and so on. Again you're left beaten or even greater confused than earlier than. But don’t panic yet, as you've got in the end come to the proper vicinity!
We've taken the complex guide mode of DSLRs and broken it down into more than one section, every with a brief introduction and rationalization. This will in no way make you an expert photographer, but as a minimum, it will provide you with standard know-how of what guide mode settings are for and the way to use them.
When you shoot in guide mode, it's all approximately the whole management of your digicam. To try this with excellent outcomes, you first want to understand how your digicam works. So right here it goes.
As you factor your digicam at your challenge, the light is contemplated in your lens.
If you have a popular DSLR, the reflect interior focuses that light into your viewfinder, permitting a stay preview. Once you press the shutter release (the button that makes your digicam take a photo), that mild travels through the length of your lens, past the shutter blinds, and hits the sensor that sits in the back of your digital camera.
The virtual sensor then converts that data into your selected format (and I will take this opportunity to advocate which you most effective shoot in RAW layout whilst to be had) and saves it for your reminiscence card.
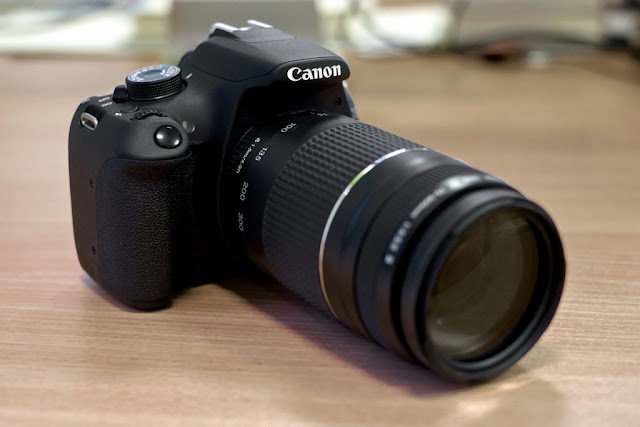
So all in all, every digital camera has 3 primary components that do a maximum of the paintings inside the photograph taking manner. That is the sensor, the shutter, and the lens. In appreciate, every one of those components has a digital camera putting devoted to controlling them
Over the history of pictures, unique camera manufacturers had distinctive names for this putting. To avoid confusion, the International Standards Organization delivered one device that becomes quickly adopted by using everybody.
The ISO placing controls your sensor's sensitivity to mild. In other words, the higher the number, the extra sensitive to light your camera is. To recognize this higher, consider how your eye receives more sensitive to mild in a darkish room and then receives blinded while you go outside.
Although before everything this seems like the only putting you'll really want to catch up on the dearth of light, it does have a massive disadvantage. The more touchy your digital camera is, the extra noise your very last photo will have. Some better-give up cameras address this noise a lot higher, but generally, we strive to keep the ISO as low as viable.
When you're no longer taking an image, your sensor is hidden away in the back of a shutter. This is a small mechanical blind that opens and closes to take a photograph. And with using the shutter speed placing, you may manage how speedy the shutter opens and closes, affecting the advent of movement of your picture.
Shutter speed is measured in fractions of a 2d. For instance, if your putting says 1/60, that means your shutter might be open for one-sixtieth of a second. And as fast as this sounds, it’s without a doubt taken into consideration to be at the slow facet.
Personally, I suggest a 1/60 shutter speed as the slowest which you should shoot at while holding your camera. Anything underneath that, and also you should mount your digicam on a tripod as it might result in camera shake.
Camera shake is while your problem is blurred because of your digital camera’s movement at the same time as motion blur is a result of your concern moving even as your camera is held nevertheless. Motion blur can frequently be used to expose motion within the photo, as visible beneath.
So, as you probably have already found out, the slower the shutter velocity, the extra light falls onto the sensor. Whereas, the quicker the shutter velocity setting, the much less light.
And now we can already start gambling around with the two settings that we recognize. Instead of increasing your ISO for lighter snapshots we will try using a slower shutter velocity!
Aperture will most probably be the placing that takes the longest to wrap your head around, however, it’s truly worth the effort as this is probably the maximum critical digicam putting that you may use.
Aperture is normally measured in f-stops, starting at f/1.Four, f/2, f/2.Eight, f/4 and so on. As complex as this collection looks, it’s simply now not that hard to memorize. All you want to take into account are the first numbers on the size. Everything that follows after is doubled on each different stop.

Comments
Post a Comment