EASY PHOTOGRAPHY TUTORIAL

I did not have that freedom to practice 10 years in the past, due to the fact film changed into so high-priced and you simply took a photo and was hoping it turned out.
I changed into taken aback while my first roll of the movie becomes all blurry and out of awareness. The lighting turned into all off and those had been quite frankly the worst photos I had ever taken. I had heard so much about how remarkable those cameras were! What became I doing incorrectly? I became so beaten that I put the digital camera on the shelf and didn’t touch it once more.
Ten years have passed and I decided to take any other whirl with the DSLR cameras. So I dove into studying a way to use those superb cameras. You recognize once I began to examine a touch here and a bit there, they didn’t appear so difficult to apply in spite of everything.
Throughout the following couple of weeks, I am going to proportion a few tips that will help you higher recognize and use your DSLR camera.
UNDERSTANDING THE EXPOSURE TRIANGLE

To assist you to understand your camera higher we have to first tackle what the exposure triangle is. The exposure triangle is the connection between 3 elements WholeLifestyleNutrition.Conover ten years ago, I was given my first SLR camera. Back then they didn’t have virtual and that they have been definitely referred to as SLR cameras. Today we have digitalized everything including DSLR cameras. This allows us to practice, exercise, practice at no additional fee.
I did no longer have that freedom to exercise 10 years ago, due to the fact movie become so highly-priced and you just took a picture and hoped it grew to become out.
I changed into shocked while my first roll of the movie becomes all blurry and out of attention. The lights became all off and these have been pretty frankly the worst pics I had ever taken. I had heard so much approximately how brilliant those cameras were! What changed into I doing wrong? I became so beaten that I positioned the camera on the shelf and didn’t touch it once more.
Ten years have handed and I determined to take some other whirl with the DSLR cameras. So I dove into gaining knowledge of the way to use those exceptional cameras. You recognize as soon as I commenced to examine a touch here and a little there, they didn’t seem so hard to use after all.
Over the next few weeks, I am going to percentage some tips to help you better recognize and use your DSLR camera.
UNDERSTANDING THE EXPOSURE TRIANGLE

To assist you to understand your camera better we ought to first address what the publicity triangle is. The exposure triangle is the relationship between 3 elements: ISO, Shutter Speed, and Aperture. Once you apprehend these 3 factors, you'll have much clearer information about how your digital camera works!
REFER TO THIS DIAGRAM AS WE DISCUSS THE THREE ELEMENTS IN THE EXPOSURE TRIANGLE

1. ISO

Keep in mind that each digicam is distinct and also you must exercise together with your digicam to peer in which your camera's sweet spot is about ISO. An ISO of 800 is satisfactory for my DSLR, but whatever larger starts to emerge as grainy.
When adjusting the ISO, it usually takes into account that a higher ISO comes at a cost. The better the ISO, the grainier the picture becomes. I try and shoot all of my photos on the bottom ISO feasible.
The photo on the left turned into a shot with my iPhone. Take a look at how grainy the photo is. It became shot with an ISO of 640 (I understand it isn’t at the diagram, however it is someplace among the 400 and 800) and sincerely this changed into too excessive of an ISO for the tool I become the use of. Now the image to the proper of that was shot with an ISO two hundred. Look how crisp the photograph is. Can you notice the difference?
2. SHUTTER SPEED

Shutter speed is the amount of time the shutter is open. Shutter pace is how rapid or slow the digicam records the photograph. The slower the shutter velocity the more light that gets to the sensor. The quicker the shutter pace, the less light that receives to the sensor.
Shutter velocity allows you to freeze any movement in an image (action shot) or to blur any motion in a photograph (waterfall). When I take images of my daughter at her soccer sport, I want to freeze the action of the soccer ball mid-air. This is done by using the usage of a quick shutter pace. If I am shooting a waterfall and I need it to have a blurred movement, I need extra mild to get to the sensor so I am going to slow my shutter pace all the way down to create the blurred impact
three. APERTURE
Aperture is the size of the opening in the lens while the photograph is taken. Aperture is measured in f-stops (f/1.Eight, f/2.Eight, f/three.Five, f/4, f/five.6, f/6.Three, f/8, f/11, f/sixteen, f/22…). The lower the range (f/1.8) the larger the opening inside the lens or the extra light that receives to the sensor. The larger the quantity (f/22) the smaller the outlet inside the lens or the much less light that receives to the sensor.
The aperture controls what is in cognizance in a photo. Below is a photograph of 2 bobble-heads (I realize, it become all I needed to shoot at that second)! 😉 The photograph at the left has a very low aperture number, f/2.8 or a very large starting in the lens. It has a very shallow intensity of the subject. Notice how the bobble-head at the left is barely substantive due to the fact I actually have chosen to blur it out so that the focus is at the bobblehead on the right.
Now the image to the right of this has an aperture f/6.Three or a smaller opening. Notice how the bobble-head at the left of the second one photo is a little bit extra in awareness. It has a touch bigger intensity of the subject. As I boom the f-stop variety, the clearer it turns into. Keep in thoughts that during both of these photographs I actually have targeted the bobblehead on the right.
SHOOTING IN APERTURE PRIORITY
If you're capturing on aperture precedence mode you'll be putting the aperture and the digicam will robotically set the ISO and shutter speed.
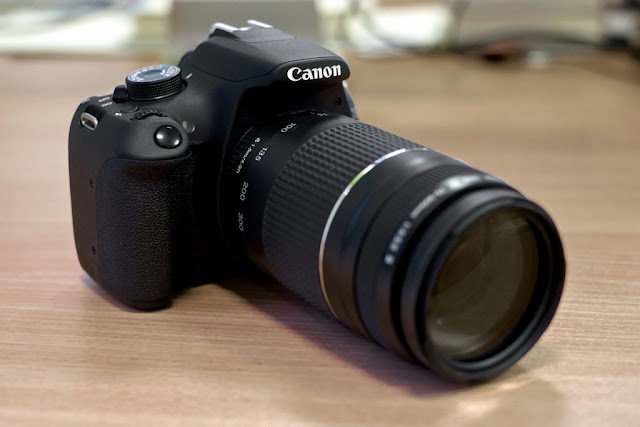
Note in case you need the ISO to set mechanically make sure you've got it on auto to your settings. Just press the ISO button, keep it down and use the black major dial on a pinnacle of your digicam to transport it to auto (this button is normally closest to your shutter button which you push to take a photo, see photo beneath). Check your manual for further commands if wanted.
SHOOTING IN SHUTTER PRIORITY
If you are capturing in Shutter Priority mode, then you definitely set the shutter pace and the camera will robotically set the ISO and aperture for you (again, ensure that you have the automobile choose on your ISO).

Comments
Post a Comment