BEGINNER'S GUIDE TO DSLR PHOTOGRAPHY WITH MY CAT

So! Let’s get started.

I’ve always been a DSLR form of the lady – you just can’t reflect the picture great you get on a DSLR with something of a compact or point and shoot. It is true to a positive quantity: it’s more the photographer than the gadget, but snapshots snapped on an iPhone and on a DSLR are nevertheless worlds aside in phrases of pleasant. I wrote a manual on picking your first DSLR awhile returned, however, what truly is having a DSLR in case you don't recognize how to use it?
So these days I’m going to be detailing the very fundamentals of novice DSLR photography for the ones of you who’ve just gotten your first access degree DSLR and need to know how to make the maximum of it. For those of you who’ve had your first DSLRs for a while but are nevertheless capturing on Auto mode, with a bit of luck this can assist you to pass out from it :) I won’t be overlaying Manual images on this submit because that’s one step up, and higher for a later publish!
I observed it greatly hard to apprehend the extraordinary modes and features after I just commenced the usage of my DSLR in spite of sizable gaining knowledge of, as a way to make matters simpler/ more thrilling, I’m going to illustrate how to use the DSLR with my favored issue: Athena!
TODAY'S EQUIPMENT
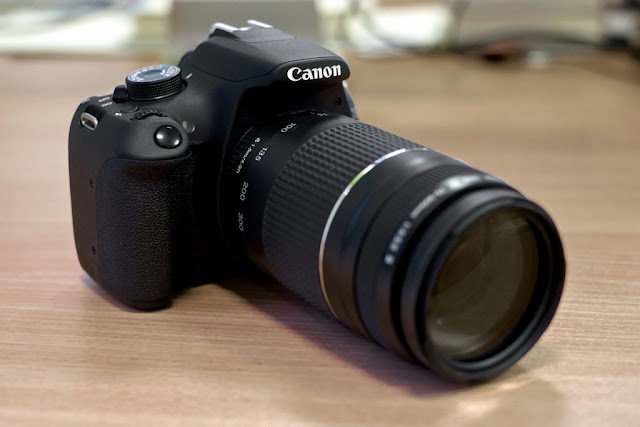
DSLR: We can be taking pictures at the Nikon D5500 nowadays, which is what I actually have available. It’s a stellar access degree DSLR and I 100% suggest it to all of us trying to get commenced!
Lens: I love the 35mm, but to be fair, I’m going to be speaking about and shooting exclusively at the 18-fifty five, that is possible to be the kit lens that your access degree DSLR will include. This is so you can see the sort of pix you’ll get while you buy the very basic DSLR package, and not using a greater upload ons and hidden prices!
So, the basic terms defined

The holy grail of DSLR pictures are those three phrases: Aperture, Shutter Speed, and ISO. They make up your Exposure Triangle. In very layman phrases, that is what they mean and do:
Aperture: The length of the hole in the lens that lets in mild in. It also controls your intensity of field/ heritage blur.
Shutter Speed: Refers to how fast your shutter clicks. It affects how sharp your photographs are.
ISO: Think of ISO as a flavor enhancer. Your ISO controls how your camera reacts to the light that your aperture allows.
This became a very beneficial infographic for me once I become looking to recognize the three terms, and I wish they assist you too:
Understanding the simple characteristic and which means of the Exposure Triangle is vital because it influences the way you pass directly to decide which model to use while taking pictures. Understanding them in detail turns into critical whilst you want to move directly to Manual images – but that’s a post for any other day. For now, just preserve in mind what they do.
Have a study of the image above. Today we’re going to speak approximately the primary modes you could shoot in, and while, so simply awareness on the dial ring that’s presently set to Auto. The concept is to transport beyond capturing in Auto, and to recognize while to use what for superior photographs, not along with M – Manual!
The maximum crucial part of the dial ring that you’ll be maximum frequently acquainted is is the P S A M component that’s boxed off. As you might have guessed, those stand for:
P – Program Mode
S – Shutter Priority
A – Aperture Priority
M – Manual
Let’s begin with P – Program Mode.
Program Mode

Program Mode is the maximum simple and easiest to apply. If you’re simply moving out from Auto mode, you may want to begin with this.
In P, all you have to do is alter the ISO. The digicam alternatives the Aperture and Shutter Speed for you primarily based on what ISO you set it to. P mode is quite secure, however, it received comes up with the fine photographs you may take on your digicam – but, it’s a tremendous mode to sharpen your capabilities and expertise of ISO on!
Pros: It absolutely helps you apprehend what ISO works for what situations, and is excellent for casual taking pictures.
Cons: You can’t modify your aperture or shutter speed for this mode, so if you’re now not glad about the sharpness or intensity of the subject. There’s nothing a good deal you could do about it.
Aperture Priority

In Aperture Priority Mode, what you have to do is regulate the Aperture and ISO, and the camera will intelligently choose out the Shutter Speed for you. This is the mode that maximum photographers shoot in.
Your aperture is measured in something referred to as f-stops. Two belongings you must recognize approximately aperture:
1. The bigger the quantity, the smaller the hollow. Don’t ask me why I know it’s complicated, but that’s just the manner it's far. (Recap: Aperture essentially means the size of the hole letting the mild in)
2. The smaller the number, the greater the intensity of subject or historical past blur.
Application:

– If you’re taking scenery and also you need the whole lot in consciousness, you don't want any history blur. The higher the f-prevent quantity the higher: an amazing gauge is f8, and then running up from there depending on your judgment from the scenario itself.
This turned into superb beneficial in gaining knowledge of how the aperture impacts the pix because if you’re a visible learner like me, it’s easy to form an affiliation between the f-forestall and the image consequences clearly speedy!
Shutter Priority

In Shutter Priority Mode, what you have to do is regulate the Shutter Speed and ISO, and the digital camera will intelligently select out the Aperture for you. This is the model that you use if you have a transferring item, or probable in case you’re taking pictures at night time. Basically, you operate Shutter Priority while you want to manipulate the sharpness of your photograph.
In shutter priority, right here’s what you want to know:

1. Pick up your DSLR and snap a shot. Hear that click on? The velocity of that click on is your shutter speed.
2. The quicker the shutter velocity, the much less blur you get.
Three. The smaller the wide variety, the quicker the shutter velocity. (i.E. 1/4000 is a fast shutter speed; 30” is a gradual shutter pace)
4. The longer your shutter remains open, the more susceptible it's far to blurring, however the extra light it captures.
Application:

– 1/30 to one/60 of a 2d is a good shutter pace for each day use.
– If you’re trying to catch a transferring object, you want a completely rapid shutter velocity.
– If you’re trying to capture the idea of motion, like in a waterfall shot, you want a slow shutter pace and a tripod because any tiny shaking of the hand will cause your photo to be a blur.
*therefore: to freeze the transferring object, we use a fast shutter pace; and to create motion, we use slow shutter speed.
– If you’re looking to do starscape photography, you need essentially the slowest shutter speed your digital camera will give you because you need to absorb as much light as viable. However, this leads to a totally high possibility of blurring, so that you’re truly going to need a right tripod. You can examine my Beginner’s Guide to Starscape Photography for an extra intensive manual on the way to seize stars :)
So, which model is the quality?

There’s no person answer or one magic mode to apply for all conditions, or cameras might handiest include one-button – Auto. Understanding the different makes use of and blessings of the exclusive modes are certainly critical when creating a flash selection on which one to apply while shooting in one-of-a-kind conditions. However, I for my part think that beginning with Program mode and then moving on to capturing specifically in Aperture Priority is a great way to get absolutely acquainted together with your DSLR.
Shutter priority is also an outstanding mode, but it tends to supply underexposed shots in case you don't hold an eye on the Aperture price and the Exposure Value. In my head, I confer with it as S for Special Occasions Mode, for when you need to take long variety publicity shots of stars, waterfalls, or in case you need special mild results most effective possible through maintaining your shutter open for a long period. I requested round my critical buddies and hobbyist photographers, and nobody without a doubt uses Shutter Priority from the daily – to me, it certainly is extra for special occasions like famous person/sports/waterfall photography. And besides, the Aperture Priority mode works properly for me 90% of the time! :)

Comments
Post a Comment